The onboarding wizard runs the first time you log in. This guide walks you through each step so you know what to expect.
Onboarding steps
Follow these interactive prompts when logging into your new account for the first time.
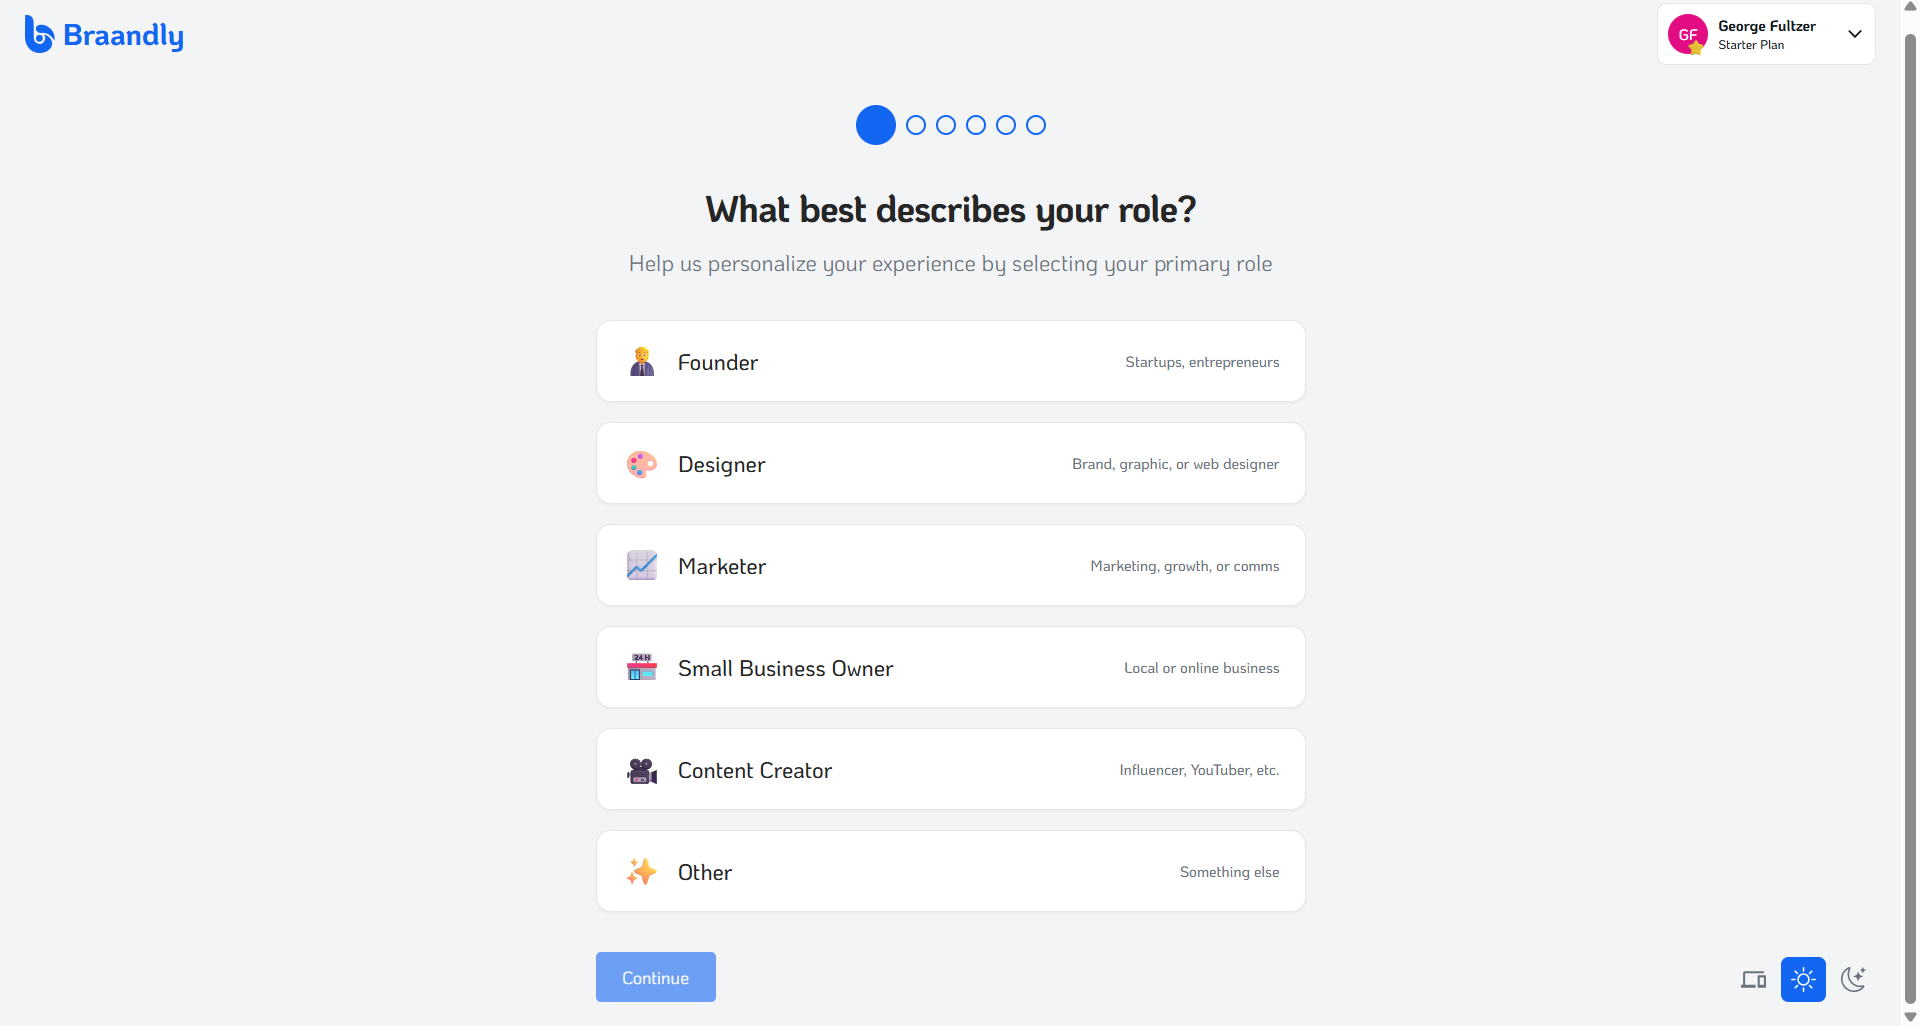
- Select your primary role. Choose the profile option that best matches what you do, such as Founder, Designer, or Small Business Owner, then click Continue.
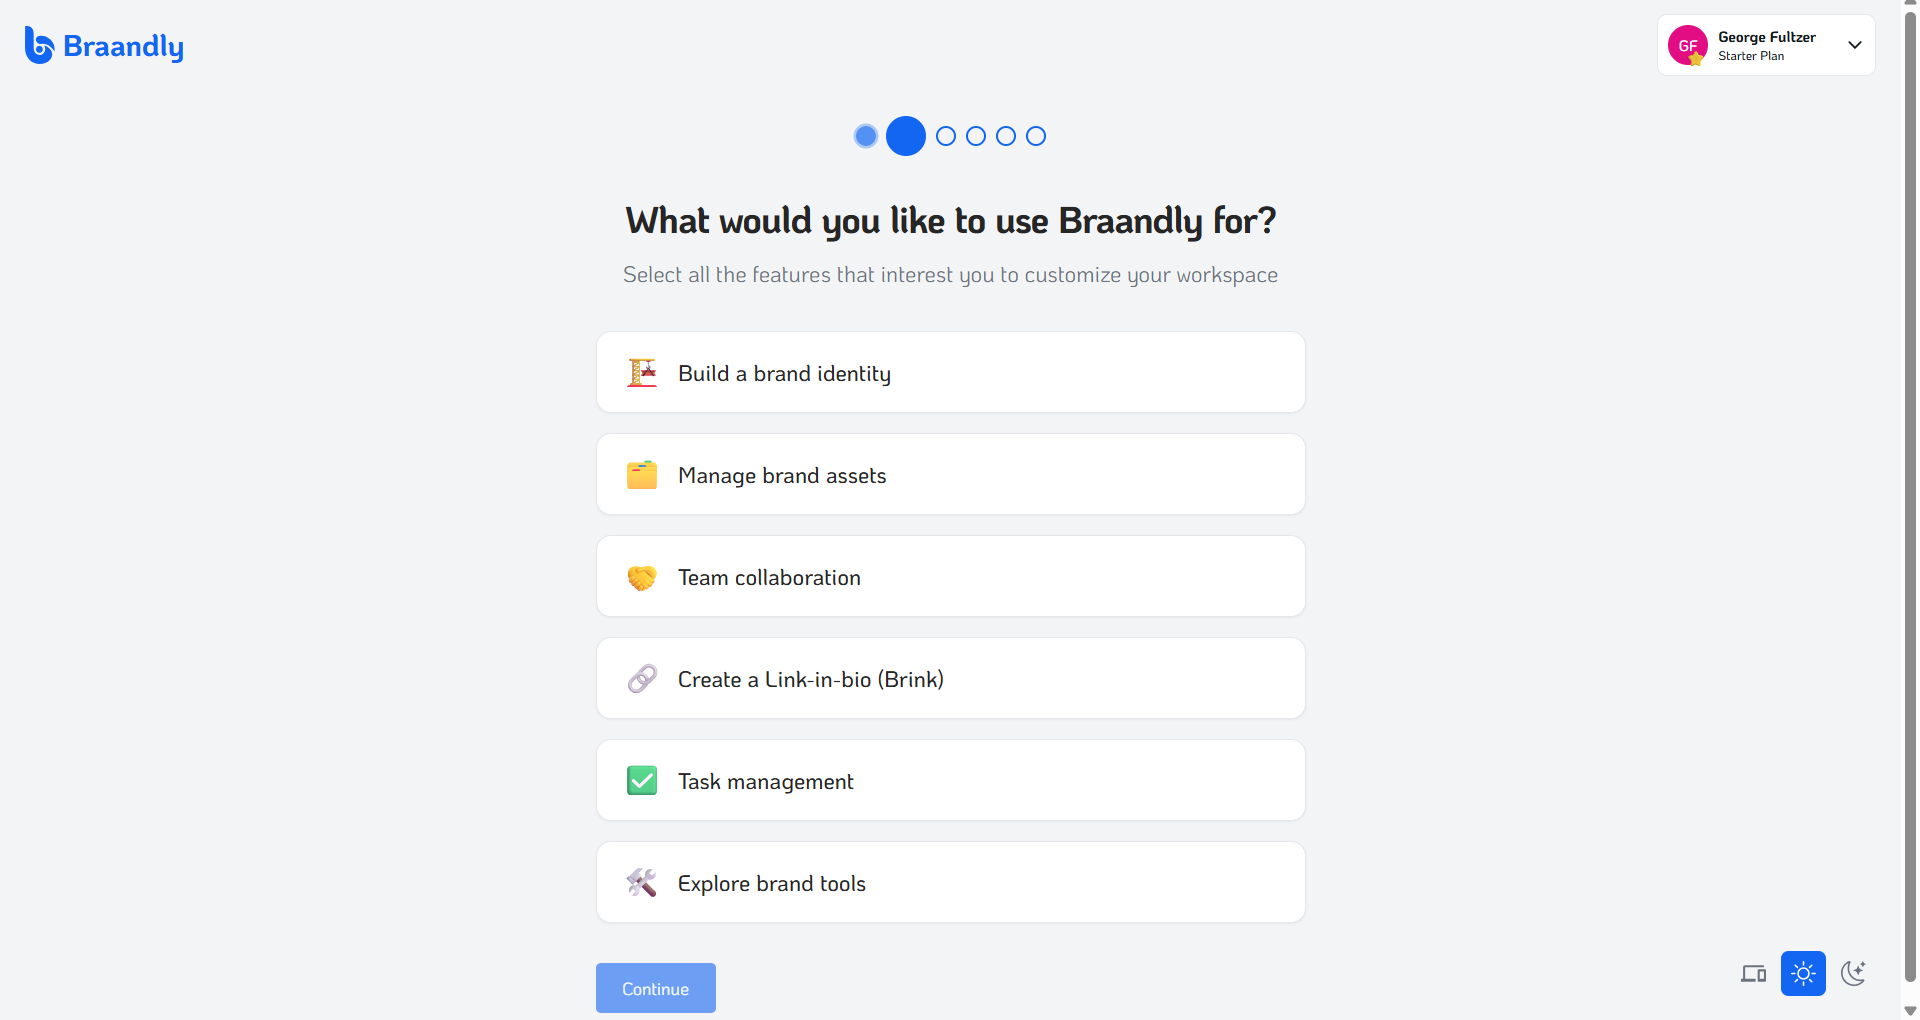
- Choose your platform interests. Pick all the goals you want to focus on, including Build a brand identity, Manage brand assets, or Create a Link-in-bio (Brink). Click Continue.
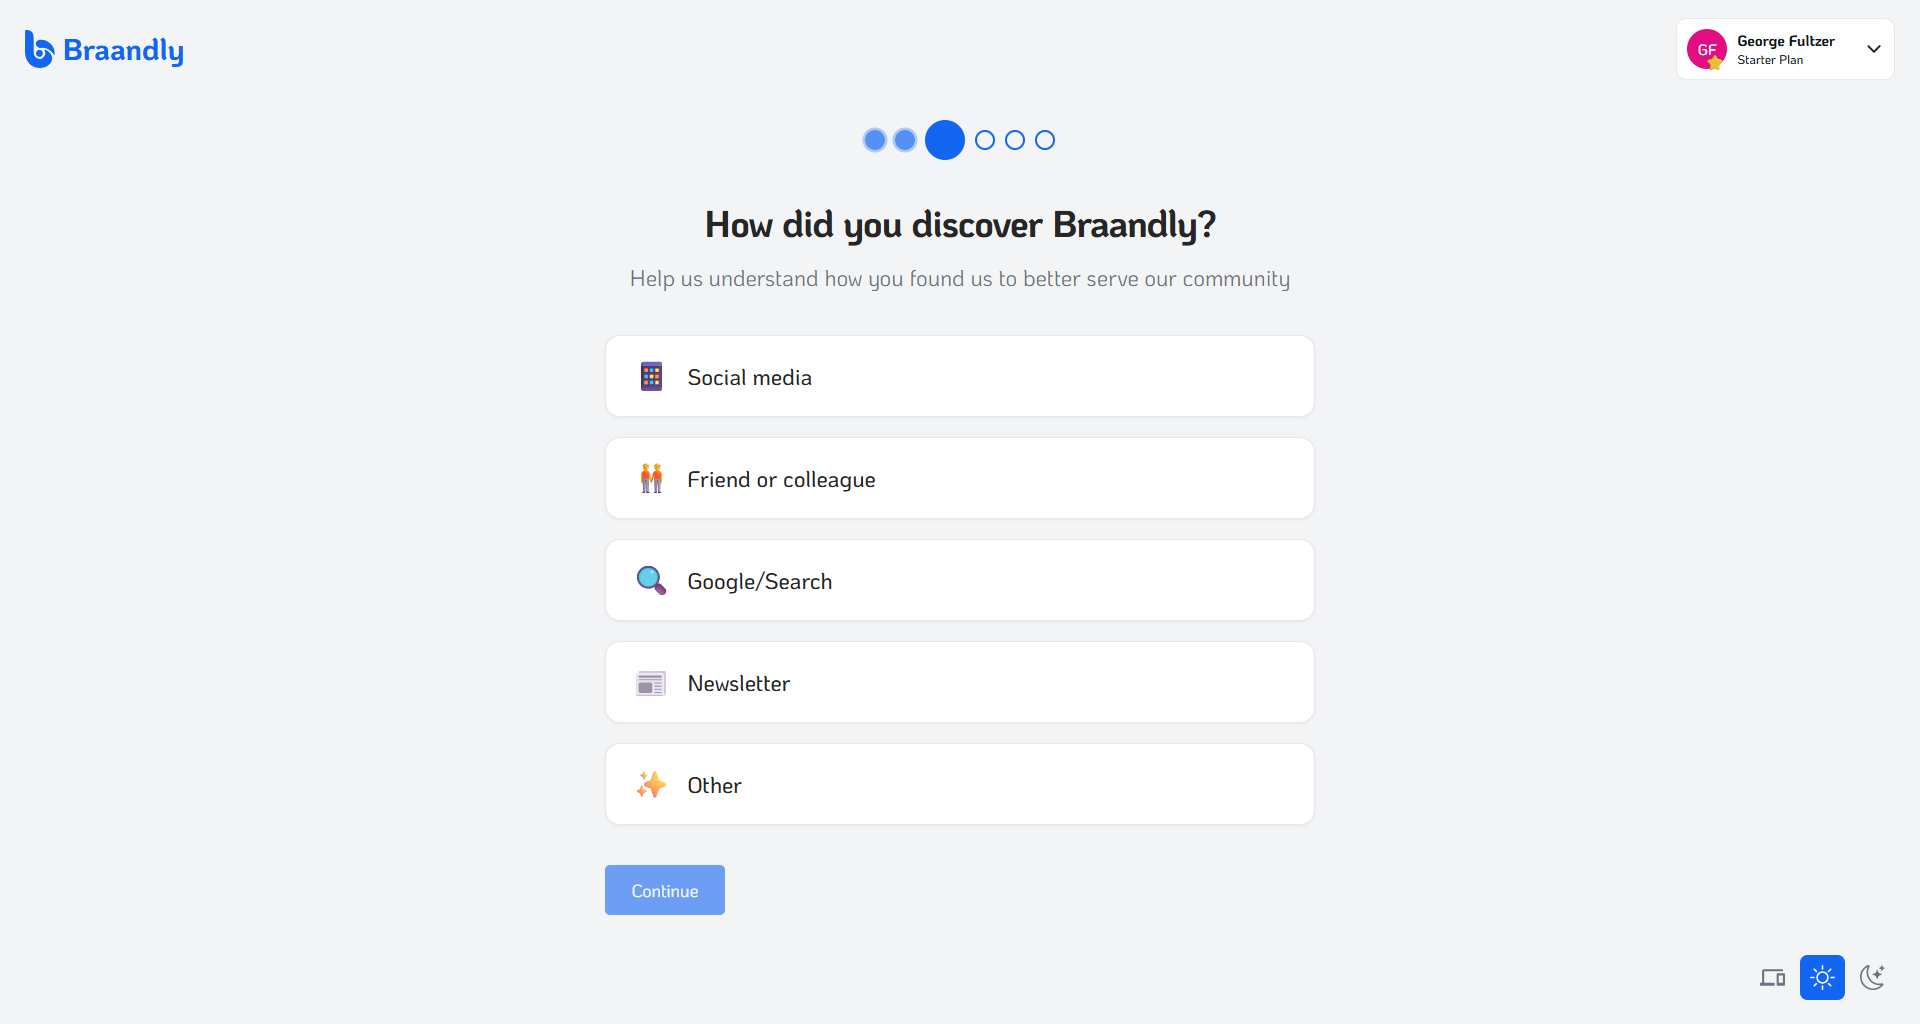
- Indicate how you discovered Braandly. Pick an option from the list and click Continue.
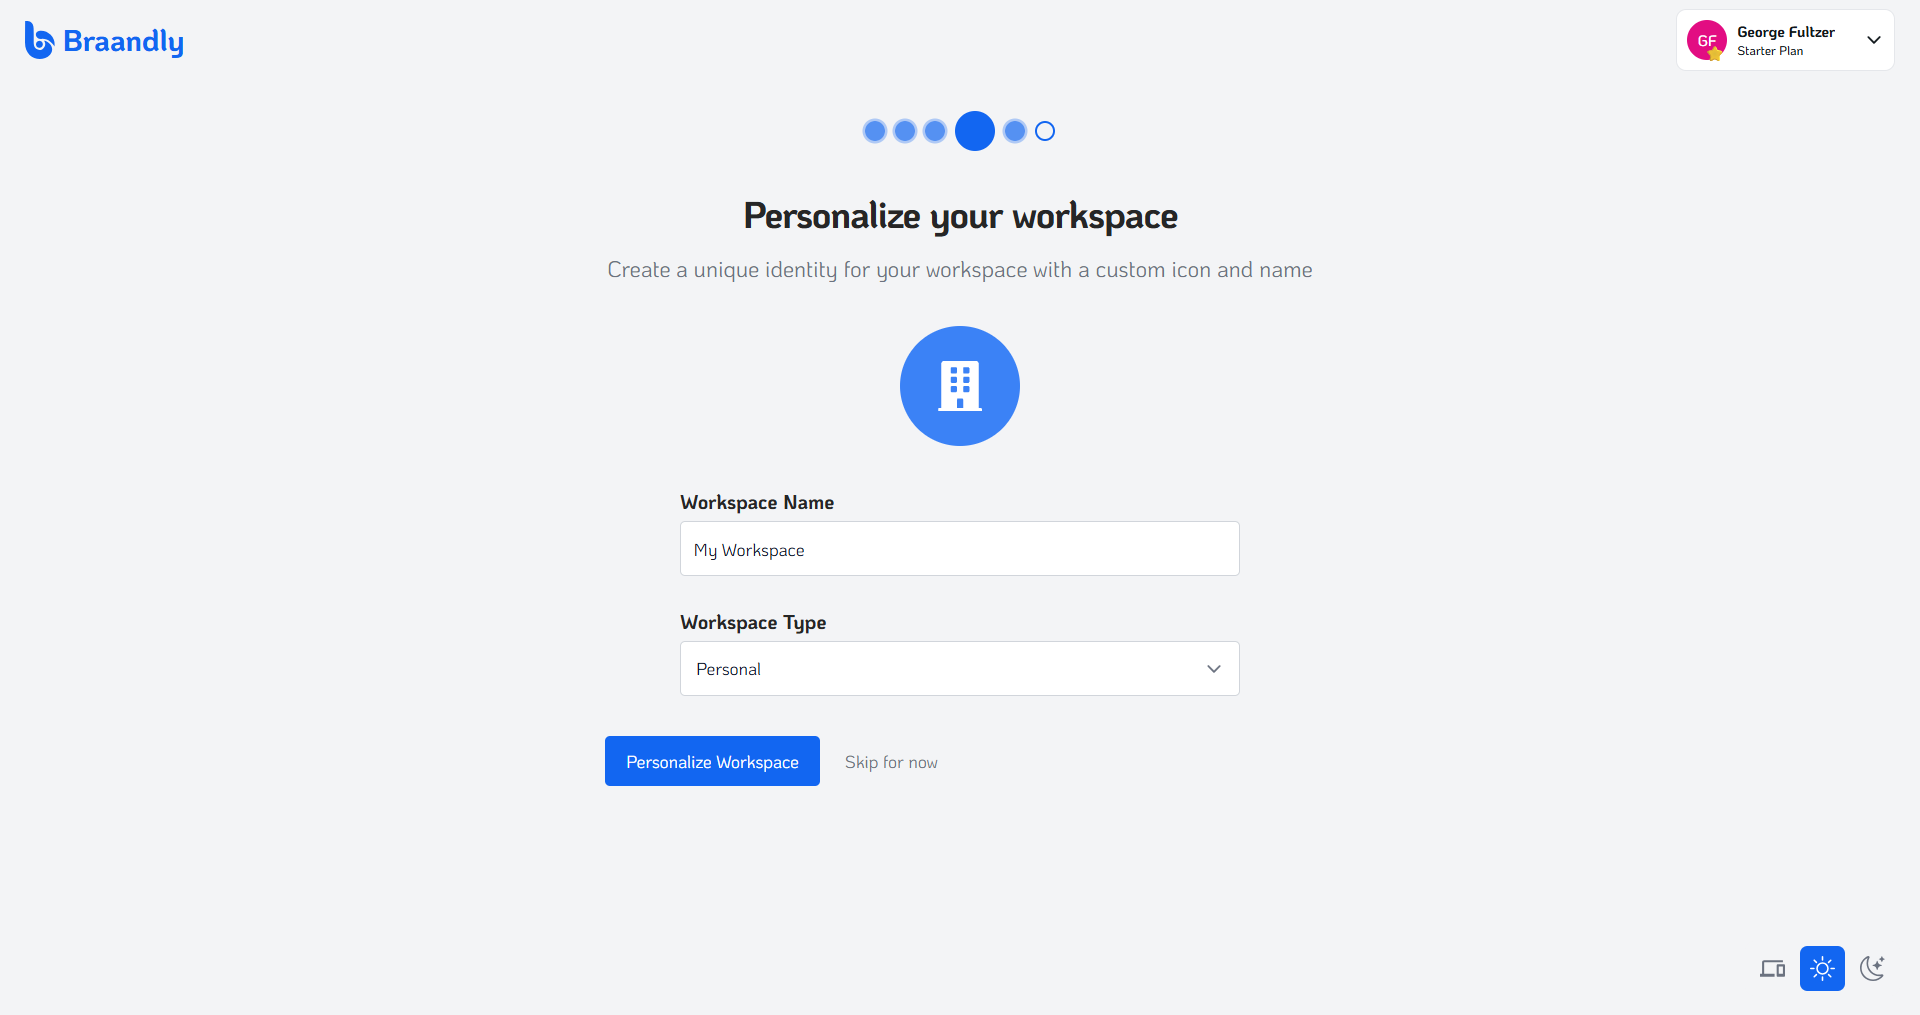
- Name and classify your initial workspace. Provide a descriptive name in the Workspace Name field and specify the setup classification under Workspace Type. Click Personalize Workspace or select Skip for now to configure later.
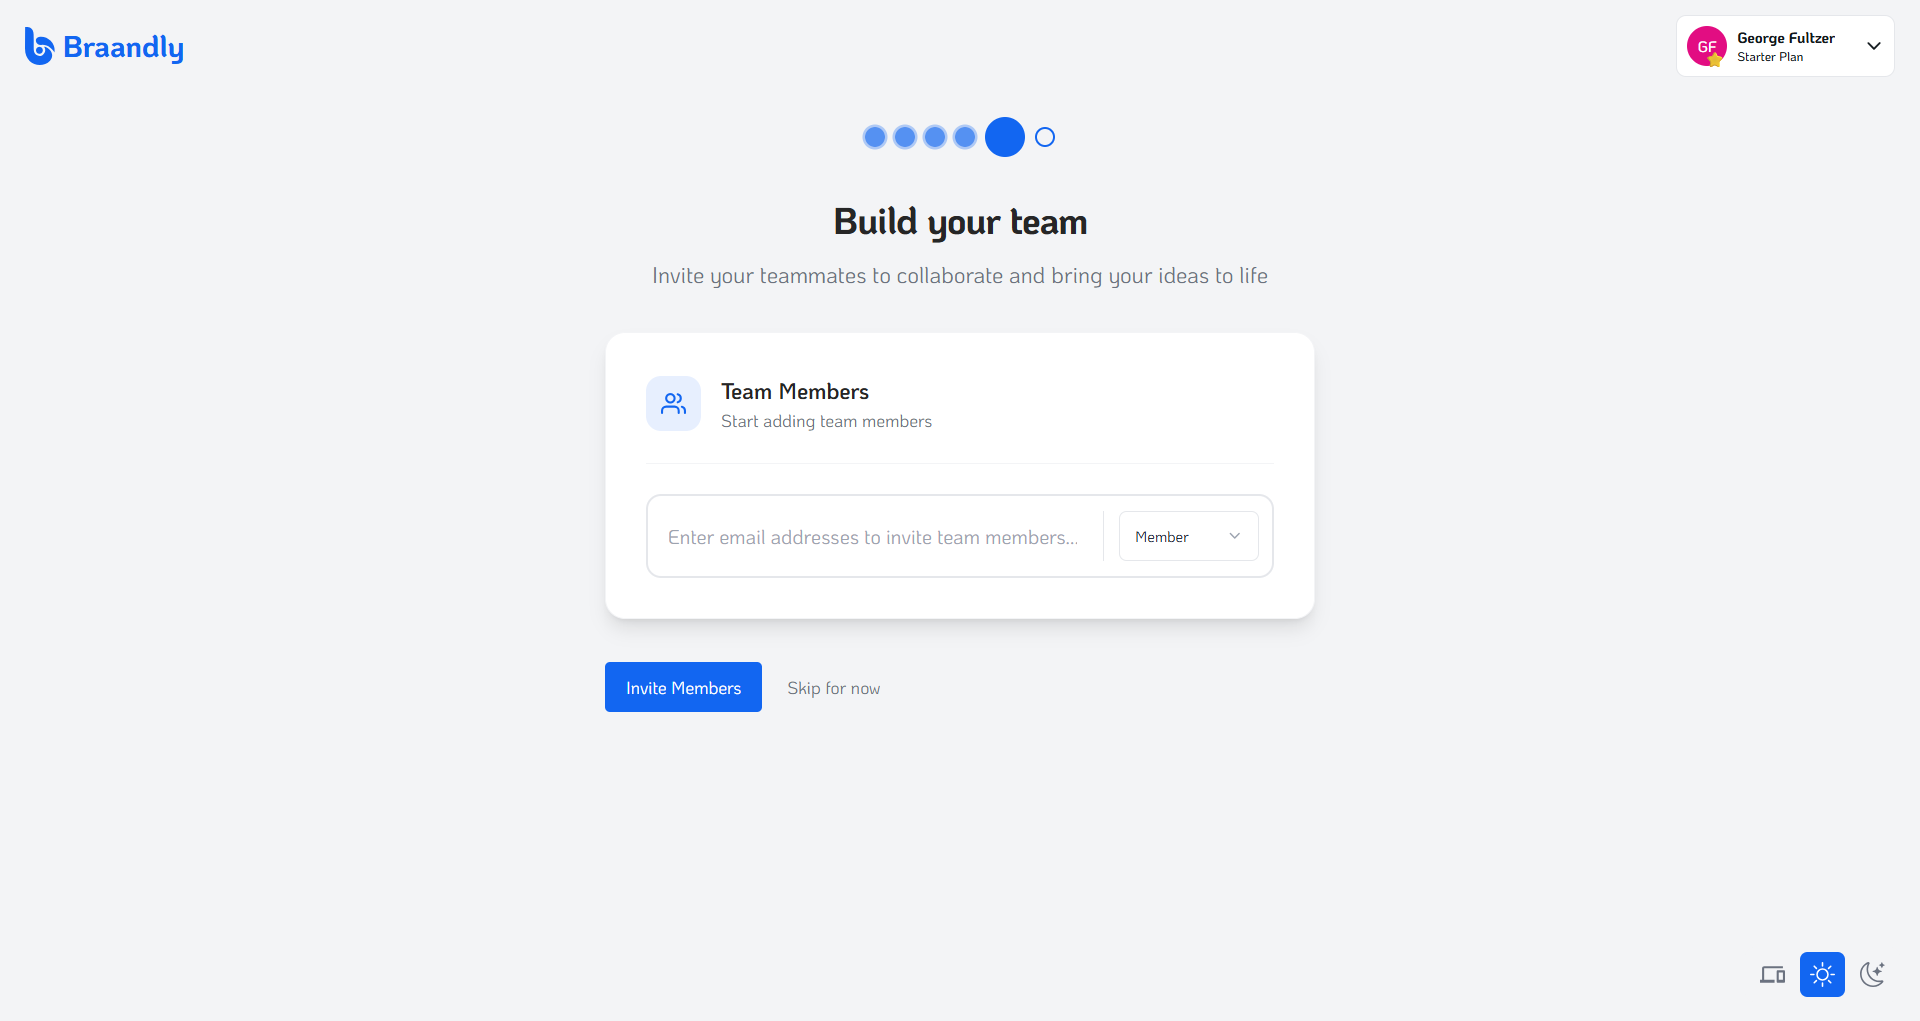
- Invite your team members. Enter the email addresses of any colleagues you want to add to the workspace, assign their platform permissions, and click Invite Members. You can alternatively select Skip for now to manage this configuration later.
- Select your subscription plan. Review the available plan tiers (such as Starter, Plus, Pro, or Ultimate). Select the plan that best fits your needs.
Once you finalize your basic account preferences, your dashboard appears.
Next steps
With your onboarding completed, you can complete the dashboard tour. See Tour of the dashboard to get familiar with the dashboard.