You can add a new brand to your workspace at any time to manage its specific assets and identity. This guide walks you through setting up a brand profile manually from scratch instead of using Braandly AI.
Before you start
Open the workspace where the new brand should live. You can switch workspaces from the workspace selector in the top left corner.
Create your brand
-
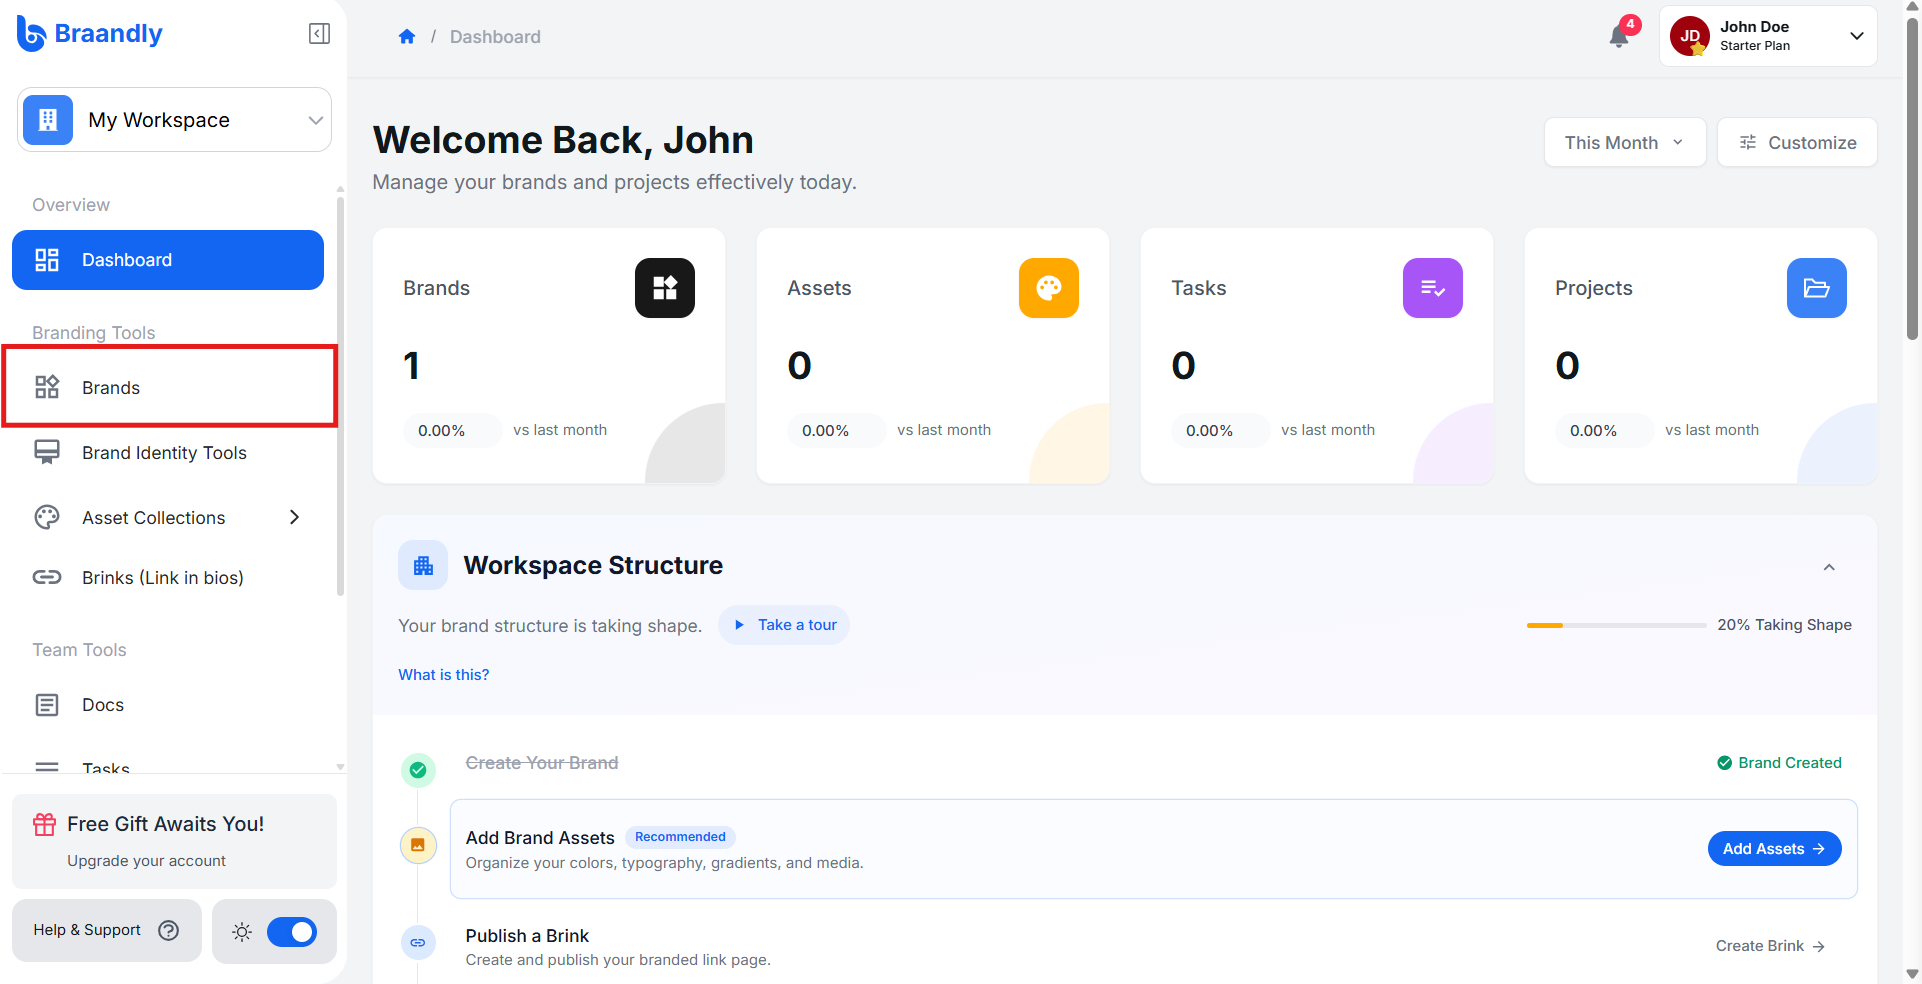
Open your workspace dashboard and click Brands in the sidebar.
-
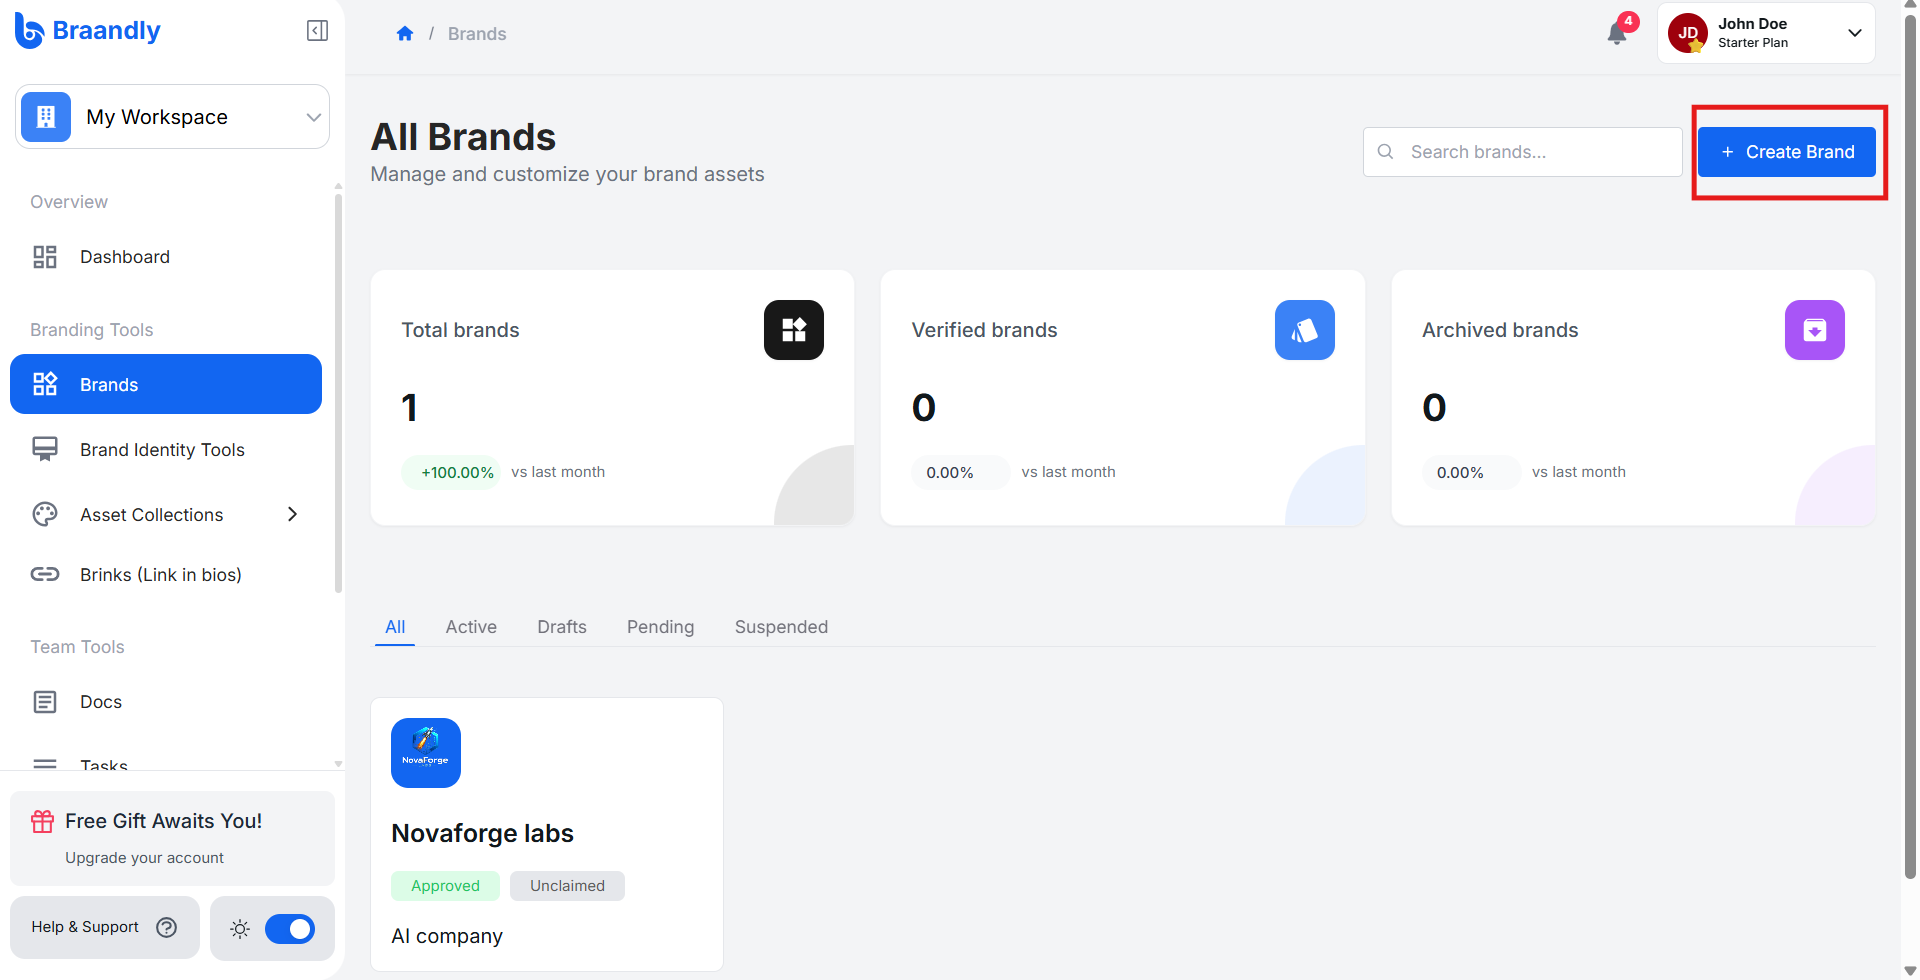
Click Create Brand in the top right corner.
-
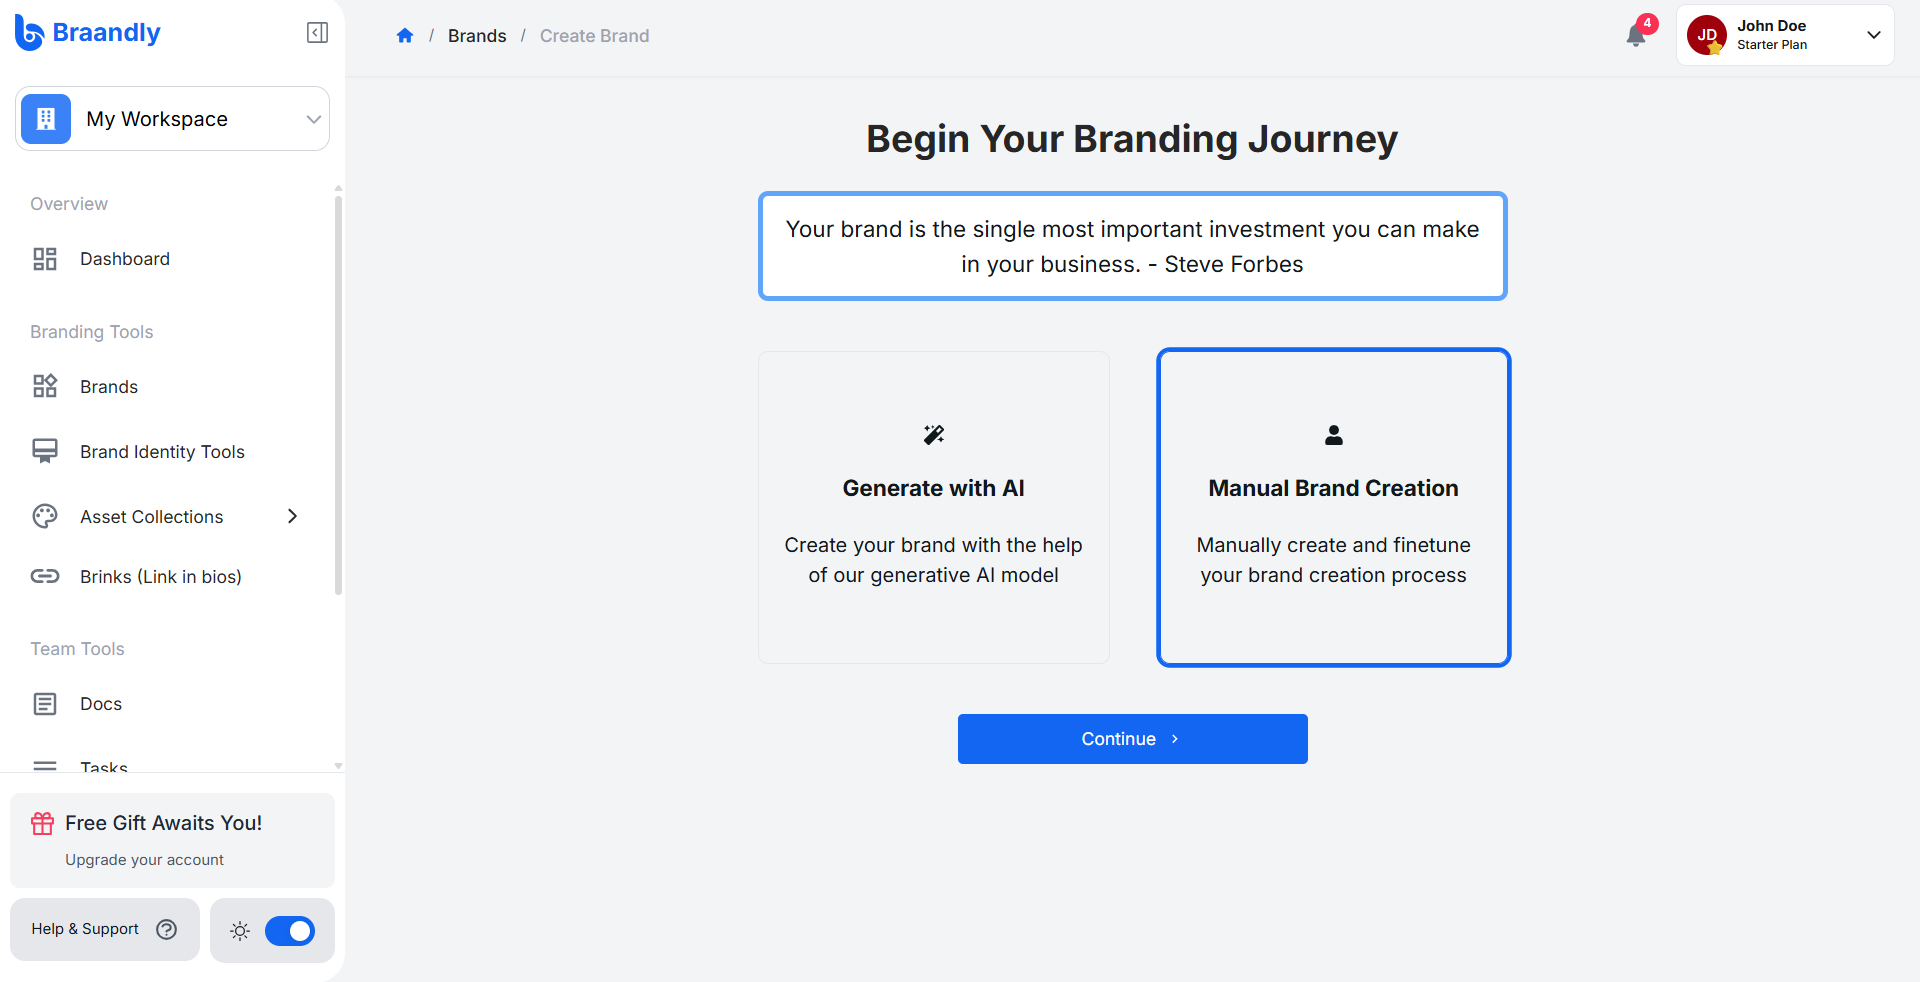
Select Manual Brand Creation from the brand creation options. Click Continue.
-
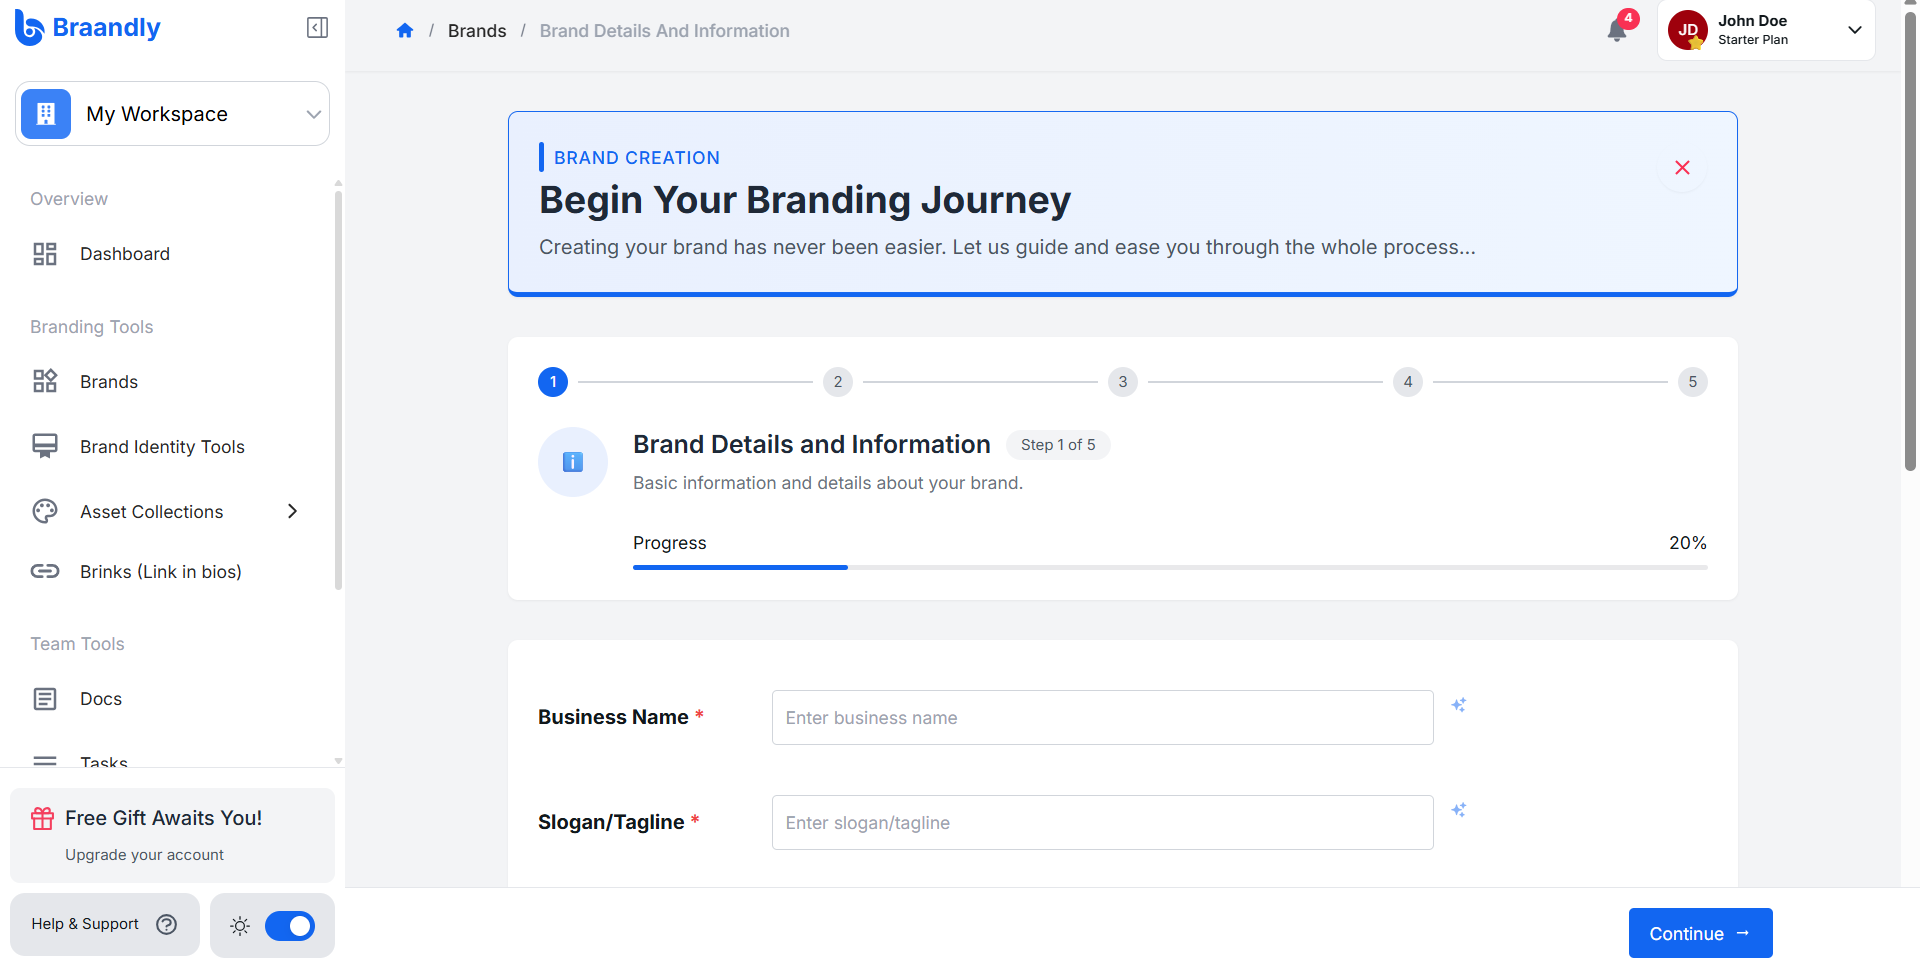
Enter your brand name, tagline, and any other fields on this page.
-
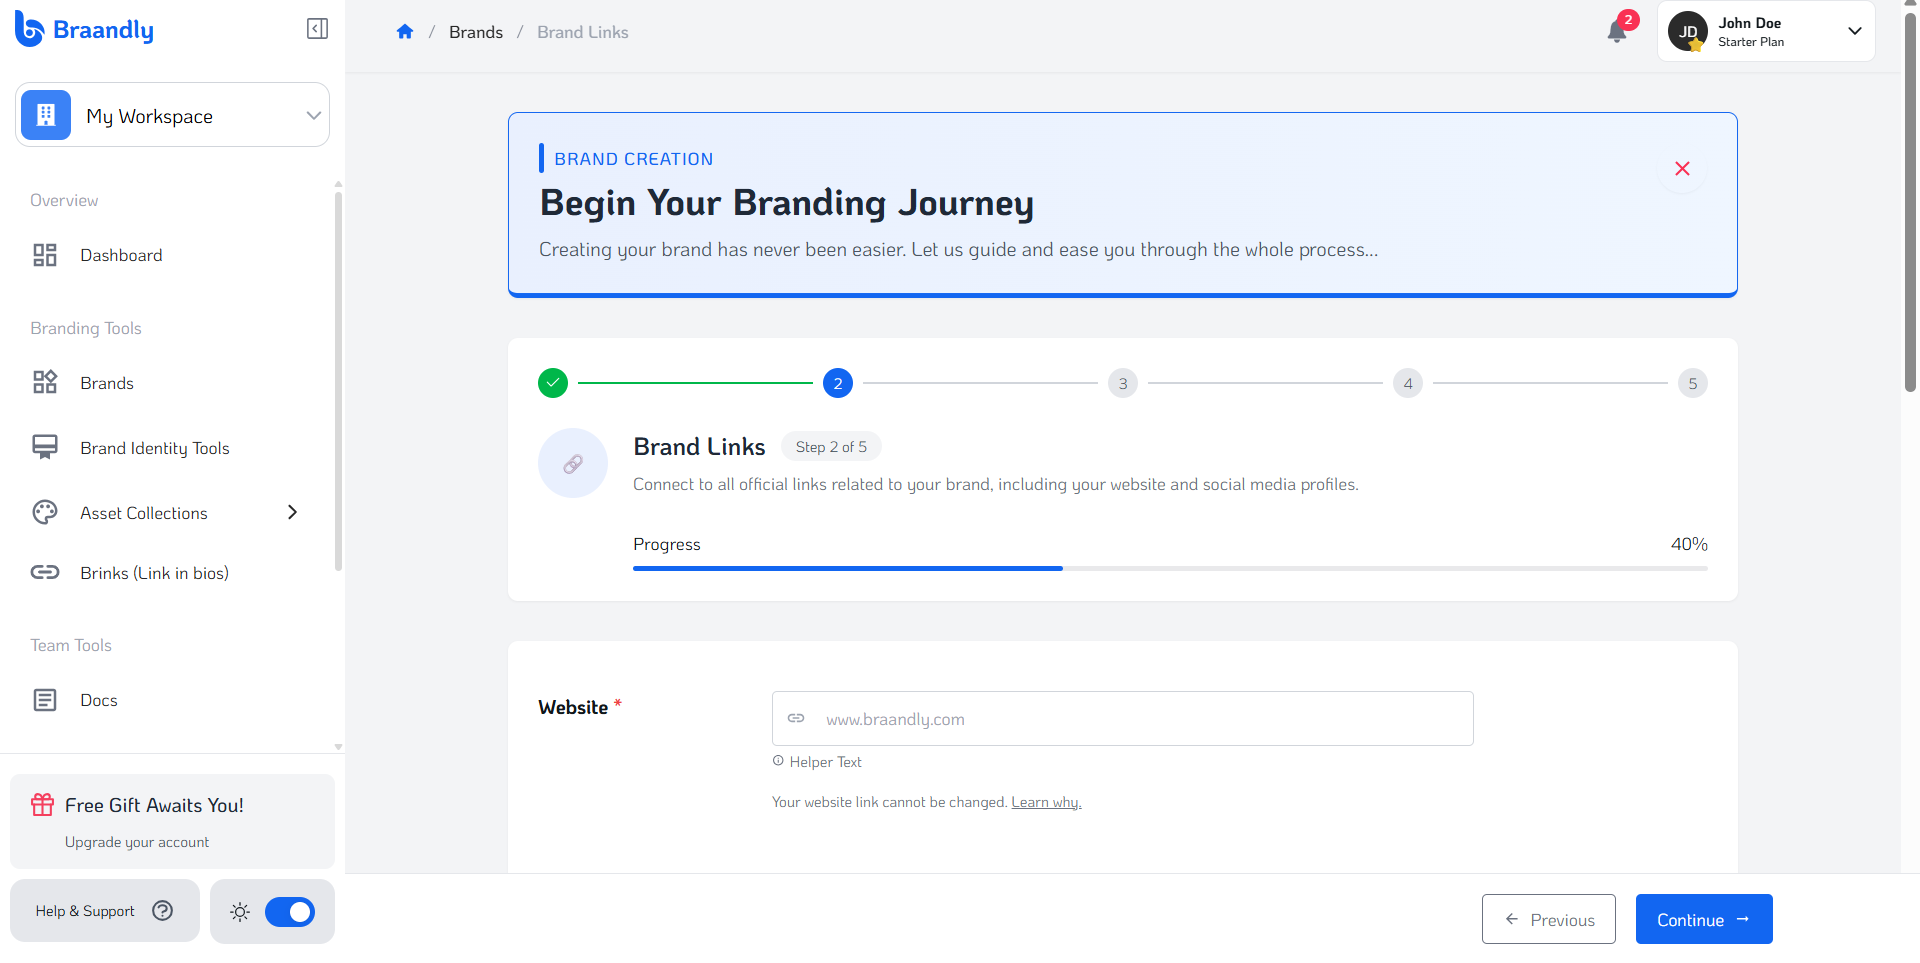
Add your website URL and any social media links for this brand.
-
Define your Unique Selling Point and Target Audience.

-
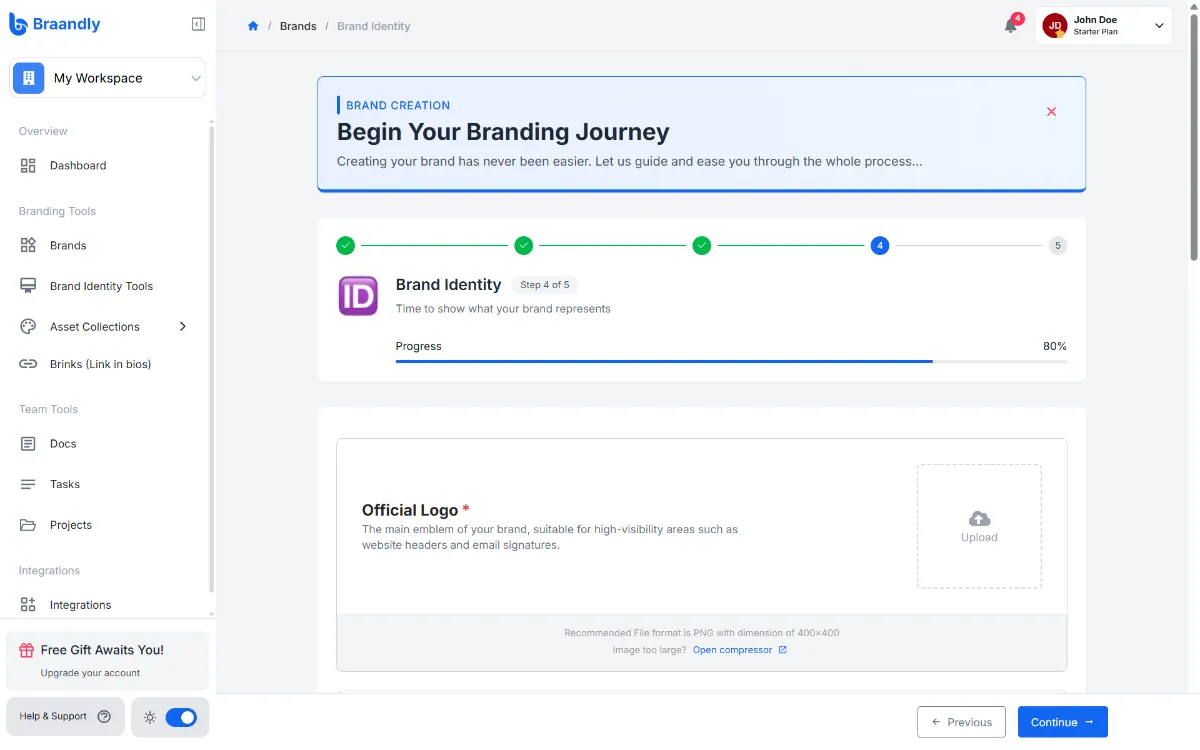
Click Upload inside the Official Logo dropzone to attach your logo image file, then set your Brand Colors and add any other media such as fonts, a symbol, or a cover image.
-
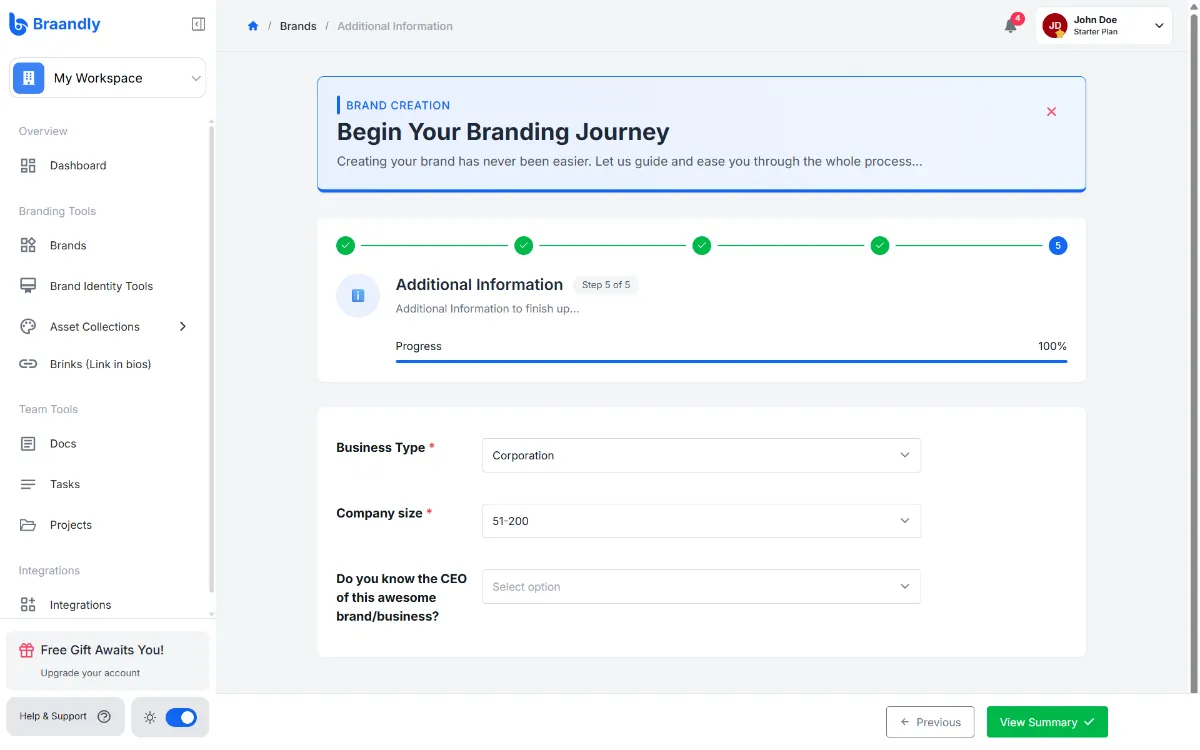
Provide any additional information about the brand and click View Summary.
-
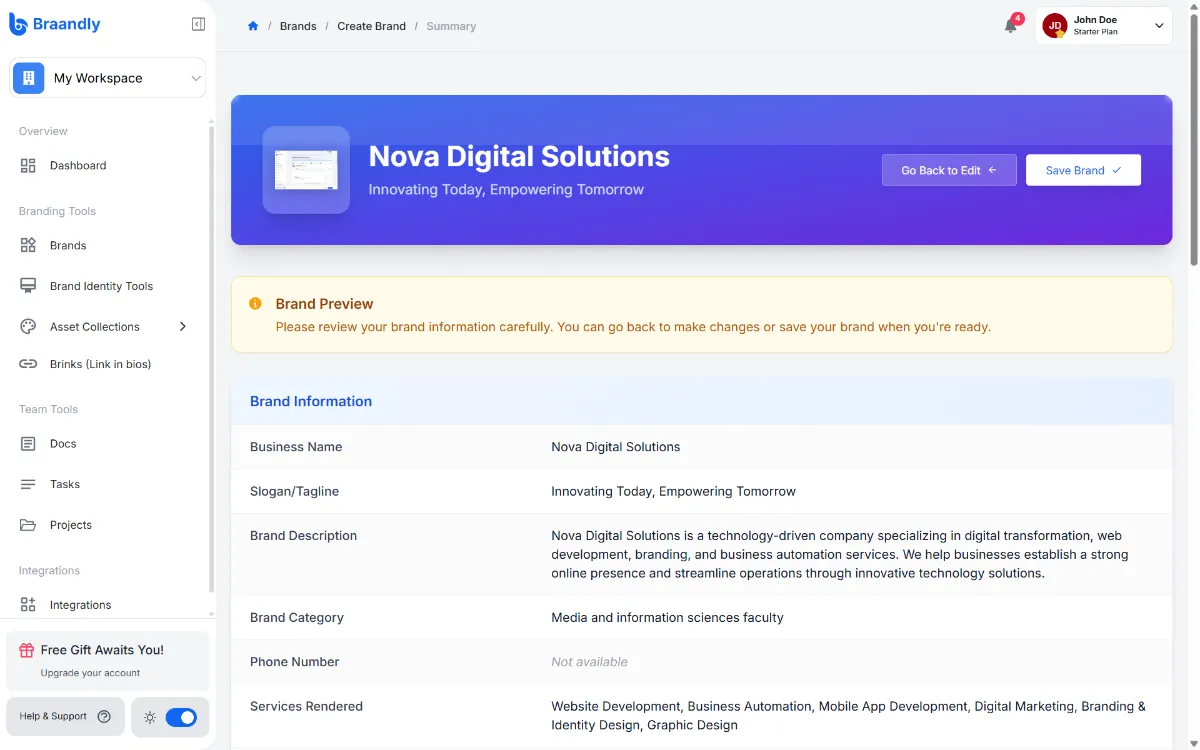
Review your brand information on the Brand summary page to confirm accuracy, then click Save Brand.
Your new brand opens instantly and gets added to your workspace's brands list.
Next steps
With your brand profile created, you can review your brand identity to ensure there were no mistakes. See How to edit brand identity to make changes to your brand's details.